Prepping for San Antonio Mini Maker Faire
We've been troubleshooting an issue with the pixels displaying incorrectly when using the ArtNet Bridge across two PixelPushers. The solution we've always wanted is get a custom Output created for PixelController so it talks directly to the PixelPushers and remove the steps translating E1.31 pixel data. We don't write Java and don't have time to start now.
Our first workaround is trying different permutations of the configuration options in PixelController like Artnet vs E1.31, custom mappings and different panel layouts. We were unable to find an E1.31 monitor to detect the issues on the wire so all our trials were done blind. The best we could do is using a custom mapping for the full layout, 48x25 pixels, we were able to get three panels fully lit, but the third column LEDs were not aligned correctly. If we ran animations that didn't have any lines that really showed the issue, it could work, but colors fades get boring and don't show what Blinkdom can do.
Our next workaround was to remove the need for the second PixelPusher and eliminate the mis-translation of the DMX Universes. Learning how difficult it is to troubleshoot without good visibility into what data is being sent to the pixels, we looked around for a way to setup a test harness to check our work.
Cruising around the Internet, we found an outdated PixelPusher package for Node.js. Since Javascript is our thing, it only took a few minutes to get it patched up and running. Once it started talking to the PixelPusher, we found our first problem. The flash drive we were using for the configuration file, 'pixel.rc', wasn't being read so the pixels weren't set up right. After fixing that with a new thumb drive, we connected two strands of 50 pixels. The new Javascript sends signals to light each pixel in order until it reaches the last pixel and then repeats. Simple, but effective for testing our connections.
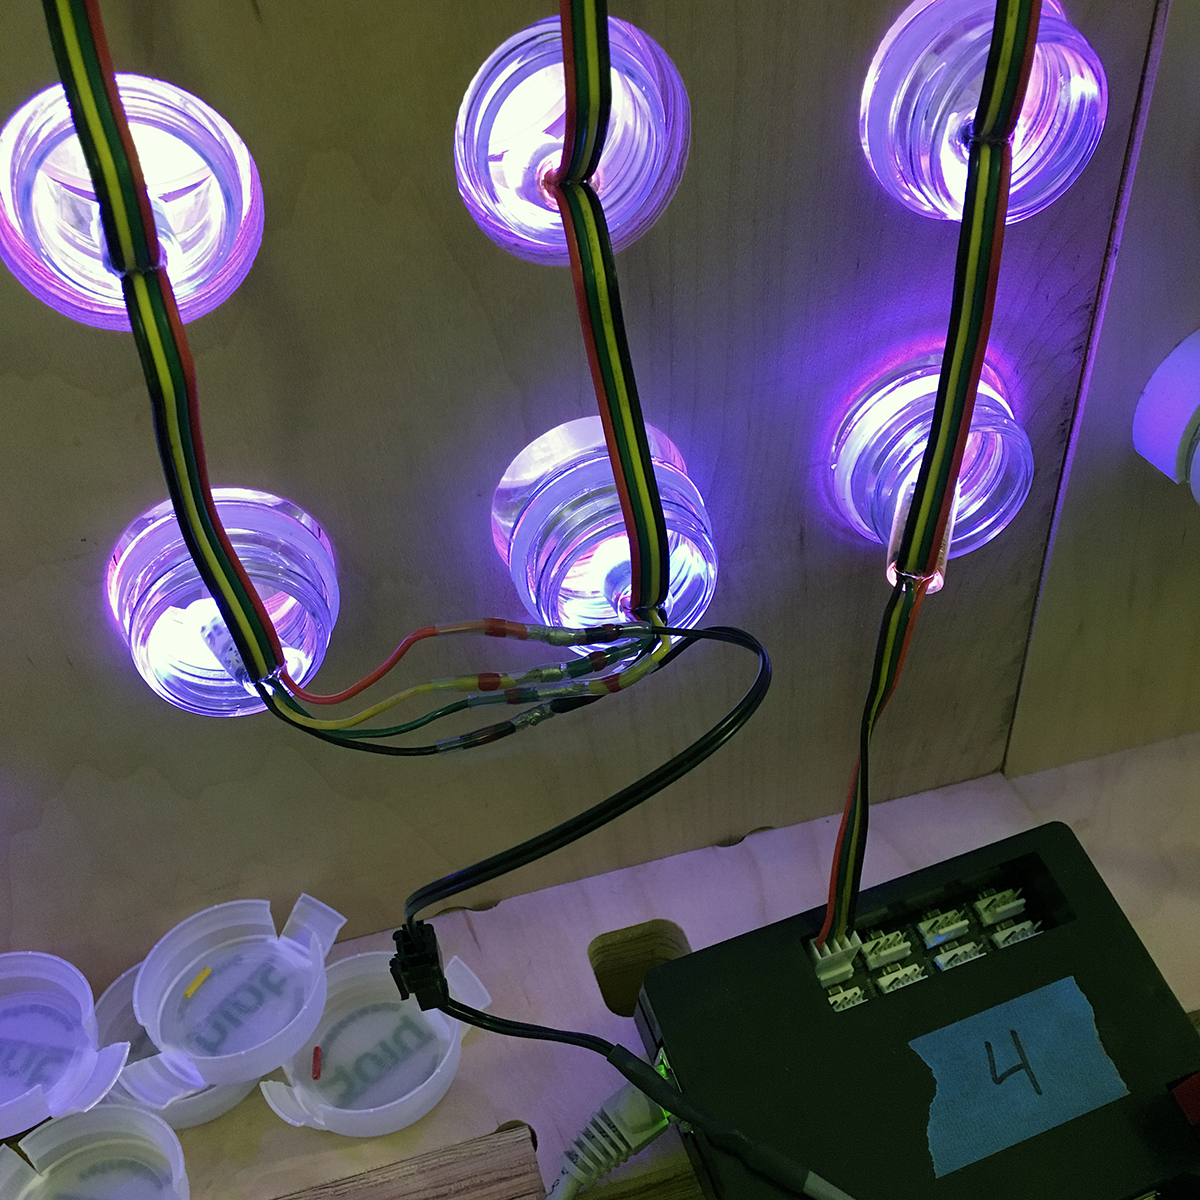
We learned that some of the strands of pixels were manufactured with the data and clock wires flipped, so the second strand wasn't responding. After the second strand was working, we tested out injecting power by adding +5vdc and -5vdc wires directly from the power supply to a third strand. Once that succeeded, we repeated the process until we had 200 pixels working, the amount of pixels in a single panel.
![]()
Using the new script and the known-good PixelPusher, we then started re-wiring the panels. Strand by strand we removed the connector on the input end, stripped wires, added power connectors, and soldered the outputs to the inputs of the next strand. After each new connection, we ran the test script to make sure everything was correct. Amazingly, we didn't mis-wire anything, letting the smoke out of more LEDs.
After about six hours, the three panels were re-wired and powered up. The test script first lights the pixels in the lower left corner of each panel. Then the next one above it. This repeats, now snaking up and down and across until all 200 pixels are on.
Next up is updating the PixelPusher. The first change is setting 'pixels = 200' in the 'pixel.rc'. Then we changed the PixelController configuration for the 24x25 pixel layout. With fingers crossed, we fired up the ArtNet Bridge and saw it detect the new Pusher. Launching PixelController, the configuration progress bar progressed, the interface appears, and the LEDs respond correctly!
With the panels operating, we can clean up the new wiring and the OSC controller interfaces. Never been closer!
SA Mini Maker Faire
Would you like to see Blinkdom in 3-D? Now you can!
Blinkdom will be at the 2016 San Antonio Mini Maker Faire!

Details are here: http://makerfairesanantonio.com/